配置
-
如果创建项目的时候没有选择Thymeleaf模板,可以在pom.xml中添加Spring Boot专属Thymeleaf的大包依赖
2
3
4
5
6
2 <groupId>org.springframework.boot</groupId>
3 <artifactId>spring-boot-starter-thymeleaf</artifactId>
4</dependency>
5
6
-
使用Thymeleaf代替JSP,配置原理和JSP的视图解析器一样。只是Spring Boot的已整合实现xml配置,只需要在application.properties全局资源文件配置下即可即插即用。
2
3
4
5
6
7
8
9
2spring.thymeleaf.prefix=classpath:/templates/
3spring.thymeleaf.check-template-location=true
4spring.thymeleaf.suffix=.html
5spring.thymeleaf.encoding=UTF-8
6spring.thymeleaf.mode=HTML5
7spring.thymeleaf.cache=false
8
9
- 基本目录

使用
-
templates目录下新建一个简单的HTML文件
2
3
4
5
6
7
8
9
10
11
12
13
14
2<!-- 引用thymeleaf的命名空间 -->
3<html lang="en" xmlns:th="https://www.thymeleaf.org">
4<head>
5 <meta charset="UTF-8">
6 <title>Title</title>
7</head>
8<body>
9 <!-- 语法多了个"th:",类似JSEL, ${xxx}动态加载的数据-->
10 <p th:text="'hello, ' + ${name}"/>
11</body>
12</html>
13
14
注意:
text="'hello, ’ + ${name}",外用双引号,内用单引号,返过来无法识别
-
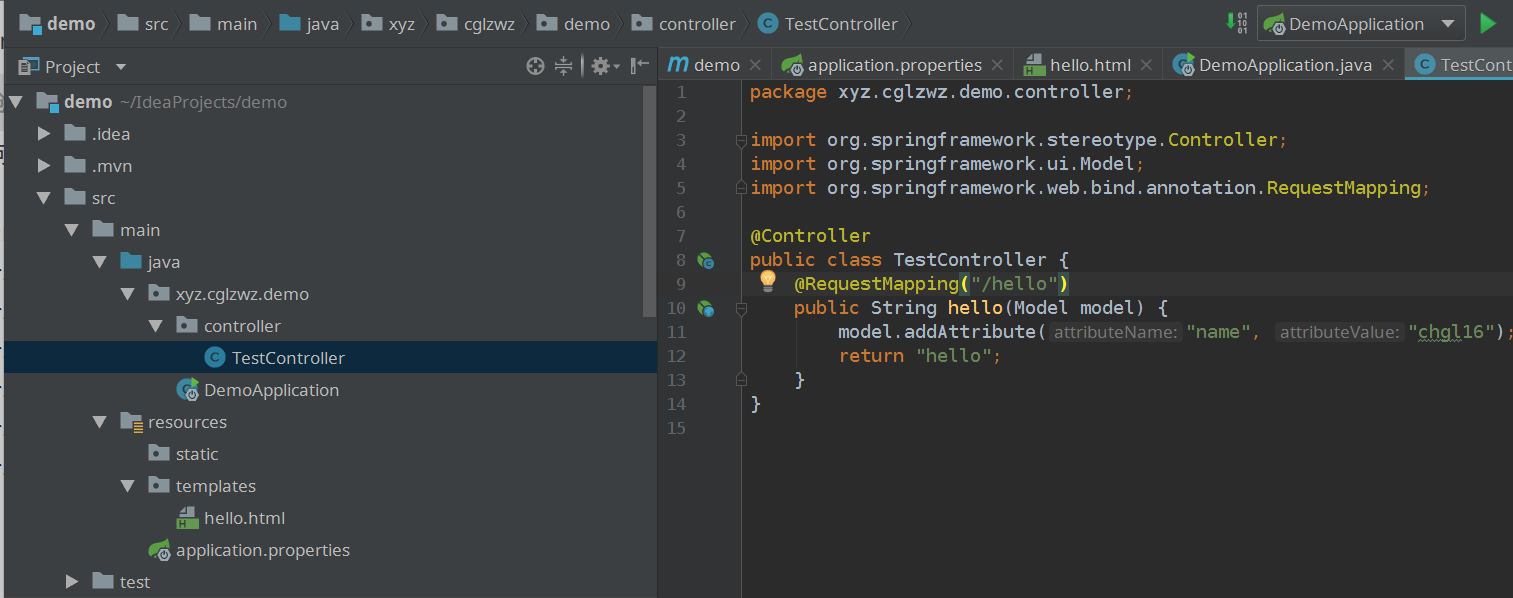
控制器
2
3
4
5
6
7
8
9
10
11
12
13
14
15
16
2
3import org.springframework.stereotype.Controller;
4import org.springframework.ui.Model;
5import org.springframework.web.bind.annotation.RequestMapping;
6
7@Controller
8public class TestController {
9 @RequestMapping("/hello")
10 public String hello(Model model) {
11 model.addAttribute("name", "chgl16");
12 return "hello";
13 }
14}
15
16
注意:别使用@RestController,这样是返回JSON。就不能解析到视图hello.html了。
此外,每次运行crtl + z只是挂起进程,端口任然占用,切记exit。或者直接使用crtl + c强制结束。
