**前言:**SpringBoot2.x默认使用的数据源为:
Hikari,我们也可以通过配置使用dbcp等常用数据源,因为阿里的druid数据源还提供了监控统计等功能,所以我们通常在springboot项目中整合使用Druid数据源
一、项目创建
- 首先使用idea创建springboot-web项目,不会的请点击:使用idea创建springboot项目
- 创建项目后在
pom.xml文件中导入
Druid数据源
2
3
4
5
6
7
8
9
10
11
12
13
14
15
16
17
18
19
20
2 <groupId>com.alibaba</groupId>
3 <artifactId>druid</artifactId>
4 <version>1.1.10</version>
5 </dependency>
6 <!--连接mysql数据库,如果新建项目时已经选中了该组件,则不再需要手动添加其依赖-->
7 <!--如果后面测试无法连接数据库,则很有可能是springboot自定义的jar包版本过高,需要你手动指定低版本来兼容本机低版本的mysql数据库-->
8 <dependency>
9 <groupId>mysql</groupId>
10 <artifactId>mysql-connector-java</artifactId>
11 <scope>runtime</scope>
12 </dependency>
13 <!--如果不添加此依赖,自定义Druid属性则会绑定失败-->
14 <dependency>
15 <groupId>log4j</groupId>
16 <artifactId>log4j</artifactId>
17 <version >1.2.17</version>
18 </dependency>
19
20
注意:SpringBoot2.x之后,springboot底层自动配置类只支持Hikari和dbcp数据源,所以需要我们手动导入Druid数据源,另外如果不添加对 log4j依赖,则下面自定义的Druid属性会绑定失败!!!
-
在application.yml(application.properties)文件中修改springboot默认数据源为Druid -【csdn编辑器貌似不支持yml文件尴尬】
2
3
4
5
6
7
8
9
10
11
12
13
14
15
16
17
18
19
20
21
22
23
24
25
26
2 datasource:
3 username: root
4 password: 123456
5 url: jdbc:mysql://localhost:3306/attend
6 driver-class-name: com.mysql.jdbc.Driver
7#修改springboot默认数据源为Druid
8 type: com.alibaba.druid.pool.DruidDataSourceC3P0Adapter
9#数据源其他配置
10 initialSize: 5
11 minIdle: 5
12 maxActive: 20
13 maxWait: 60000
14 timeBetweenEvictionRunsMillis: 60000
15 minEvictableIdleTimeMillis: 300000
16 validationQuery: SELECT 1 FROM DUAL
17 testWhileIdle: true
18 testOnBorrow: false
19 testOnReturn: false
20 poolPreparedStatements: true
21#配置监控统计拦截的filters,去掉后监控界面sql无法统计,'wall'用于防火墙
22 filters: stat,wall,log4j
23 maxPoolPreparedStatementPerConnectionSize: 20
24 useGlobalDataSourceStat: true
25 connectionProperties: druid.stat.mergeSql=true;druid.stat.slowSqlMillis=500
26
-
因为springboot底层默认不支持Druid,所以需要我们自定义Druid数据源自动配置类,让上述数据源的其他属性配置生效
2
3
4
5
6
7
8
9
10
11
12
13
14
15
16
17
18
19
20
21
22
23
24
25
26
27
28
29
30
31
32
33
34
35
36
37
38
39
40
41
42
43
44
45
46
47
48
49
50
51
52
53
54
55
56
57
58
59
60
61
62
63
64
2
3import com.alibaba.druid.pool.DruidDataSource;
4import com.alibaba.druid.support.http.StatViewServlet;
5import com.alibaba.druid.support.http.WebStatFilter;
6import org.springframework.boot.context.properties.ConfigurationProperties;
7import org.springframework.boot.web.servlet.FilterRegistrationBean;
8import org.springframework.boot.web.servlet.ServletRegistrationBean;
9import org.springframework.context.annotation.Bean;
10import org.springframework.context.annotation.Configuration;
11
12import javax.servlet.Filter;
13import javax.sql.DataSource;
14import java.util.Arrays;
15import java.util.HashMap;
16import java.util.Map;
17
18/**
19 * @author:cyn
20 * @create:2018/12/29 18:36
21 * @description:Druid数据源自动配置类
22 */
23@Configuration
24public class DruidConfig {
25 //注册数据源,并绑定配置文件中以spring.datasource前缀开头的相关属性
26 @ConfigurationProperties(prefix = "spring.datasource")
27 @Bean
28 public DataSource druid(){
29 return new DruidDataSource();
30 }
31
32 //配置Druid的监控
33 //1.配置一个管理后台的Servlet
34 @Bean
35 public ServletRegistrationBean staViewServlet(){
36 ServletRegistrationBean<StatViewServlet> bean = new ServletRegistrationBean<>(new StatViewServlet(), "/druid/*");
37 Map<String,String> initParams = new HashMap<>();
38 //设置servlet初始化参数
39 initParams.put("loginUsername","admin");//登陆名
40 initParams.put("loginPassword","123456");//密码
41 initParams.put("allow","");//默认就是允许所有访问
42 initParams.put("deny","192.168.15.21");//拒绝相对应的id访问
43 bean.setInitParameters(initParams);
44 //加载到容器中
45 return bean;
46 }
47 //2.配置一个web监控的filter
48 @Bean
49 public FilterRegistrationBean webStatFilter(){
50 FilterRegistrationBean<Filter> bean = new FilterRegistrationBean<>();
51 bean.setFilter(new WebStatFilter());
52 Map<String,String> initParams = new HashMap<>();
53 //设置filter初始化参数、
54 initParams.put("exclusions","*.js,*.gif,*.jpg,*.bmp,*.png,*.css,*.ico,/druid/*");//排除静态资源和请求
55 bean.setInitParameters(initParams);
56 //拦截所有请求
57 bean.setUrlPatterns(Arrays.asList("/*"));
58 //加载到容器中
59 return bean;
60 }
61
62
63}
64
二、项目测试
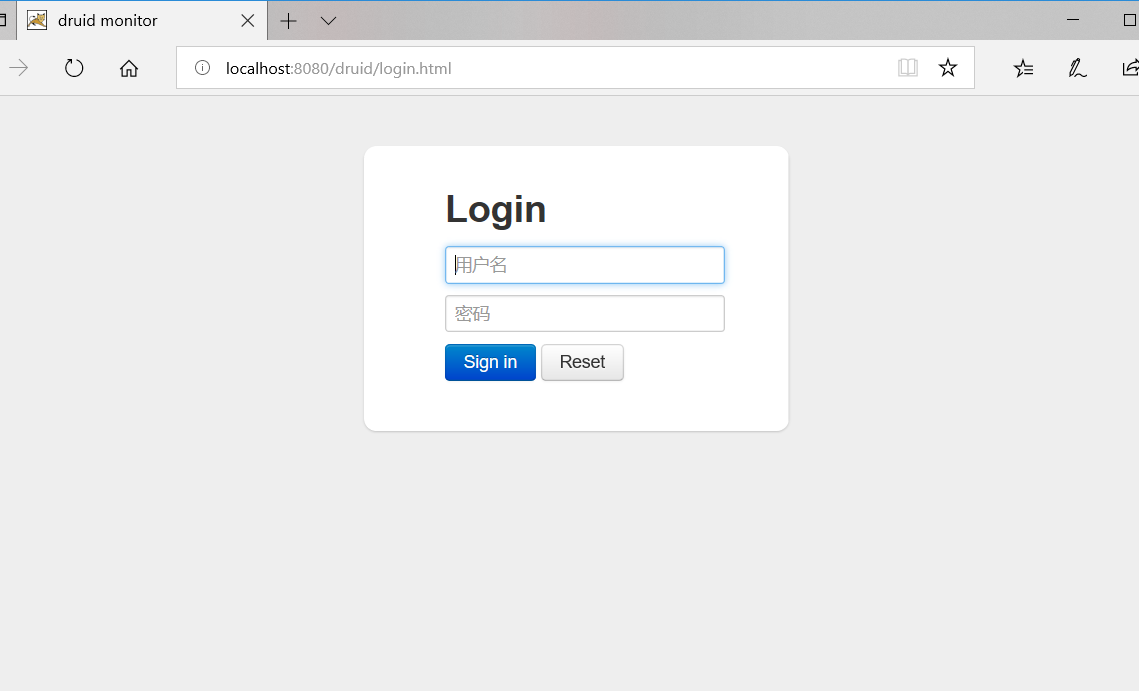
- 启动项目后在url地址栏输入:http://localhost:8080/druid/

- 输入自动配置类中配置的用户名:admin和密码:123456

- 进入上述主页说明配置成功,如果失败,继续调试吧骚年
( ̄︶ ̄)↗[GO!]
